Table of Contents
ToggleIntroduction
Preserving the bounty of your garden harvest is a cherished tradition among herb enthusiasts. As you harvest your homegrown herbs, the question arises: how do you retain their freshness, flavor, and aromatic potency for future culinary and medicinal use? In this comprehensive guide, we delve into the art of storing dried herbs from your garden. Discover expert tips, techniques, and creative ideas that will empower you to preserve the essence of your herbs, ensuring they remain a source of delight and nourishment for months to come.
Benefits of Storing Dried Herbs
As you embark on your journey of preserving your garden herbs, you’ll find a multitude of benefits awaiting you:
Retaining Freshness and Flavor
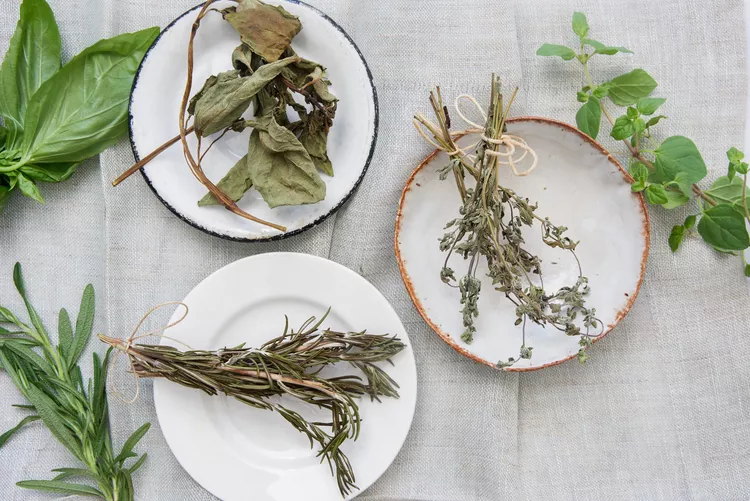
Drying herbs is a time-honored method of preserving their essence. By removing moisture, dried herbs maintain their vibrant flavors and aromatic qualities, allowing you to enjoy the essence of summer long after the growing season has ended. Whether you’re seasoning a savory dish or brewing a comforting cup of herbal tea, dried herbs offer a burst of freshness that elevates every culinary creation.
Extending Shelf Life
One of the greatest advantages of storing dried herbs is the extension of their shelf life. Unlike fresh herbs, which perish quickly if not used promptly, dried herbs can be kept for months or even years when stored properly. This longevity ensures that you always have a supply of flavorful herbs on hand, ready to enhance your meals and soothe your senses at a moment’s notice.
Selecting and Harvesting Herbs for Drying
Before you embark on the drying process, it’s essential to select the right herbs and harvest them at the optimal time. Here’s what you need to know:
Choosing the Right Herbs to Dry
Not all herbs are equally suited for drying, so it’s important to choose varieties that are known for their robust flavor and aroma when dried. Consider the following factors when selecting herbs:
Culinary Herbs vs. Medicinal Herbs
Culinary Herbs: These herbs are prized for their ability to add flavor and depth to dishes. Popular culinary herbs for drying include basil, oregano, thyme, rosemary, and sage.
Medicinal Herbs: These herbs are valued for their therapeutic properties and are often used in teas, tinctures, and herbal remedies. Examples of medicinal herbs suitable for drying include chamomile, lavender, peppermint, and lemon balm.
Optimal Harvesting Times
To capture the peak flavor and potency of your herbs, it’s crucial to harvest them at the right time. Harvesting times vary depending on the type of herb and its growth stage. As a general rule:
- Leafy Herbs: Harvest leafy herbs like basil, mint, and cilantro before they flower, as this is when their essential oils are most concentrated.
- Woody Herbs: Woody herbs like rosemary, thyme, and sage can be harvested throughout the growing season, but their flavor is best just before they flower.
- Root Herbs: For herbs with edible roots like ginger and turmeric, harvest them when the foliage begins to die back in late fall or early winter.
Drying Methods for Herbs
Preserving the freshness and flavor of your garden herbs requires careful attention to drying methods. Here are three effective techniques for drying herbs:
Air Drying: Traditional and Effective
Air drying is a time-honored method that requires minimal equipment and yields excellent results. There are two common approaches to air drying herbs:
Hanging Bundles
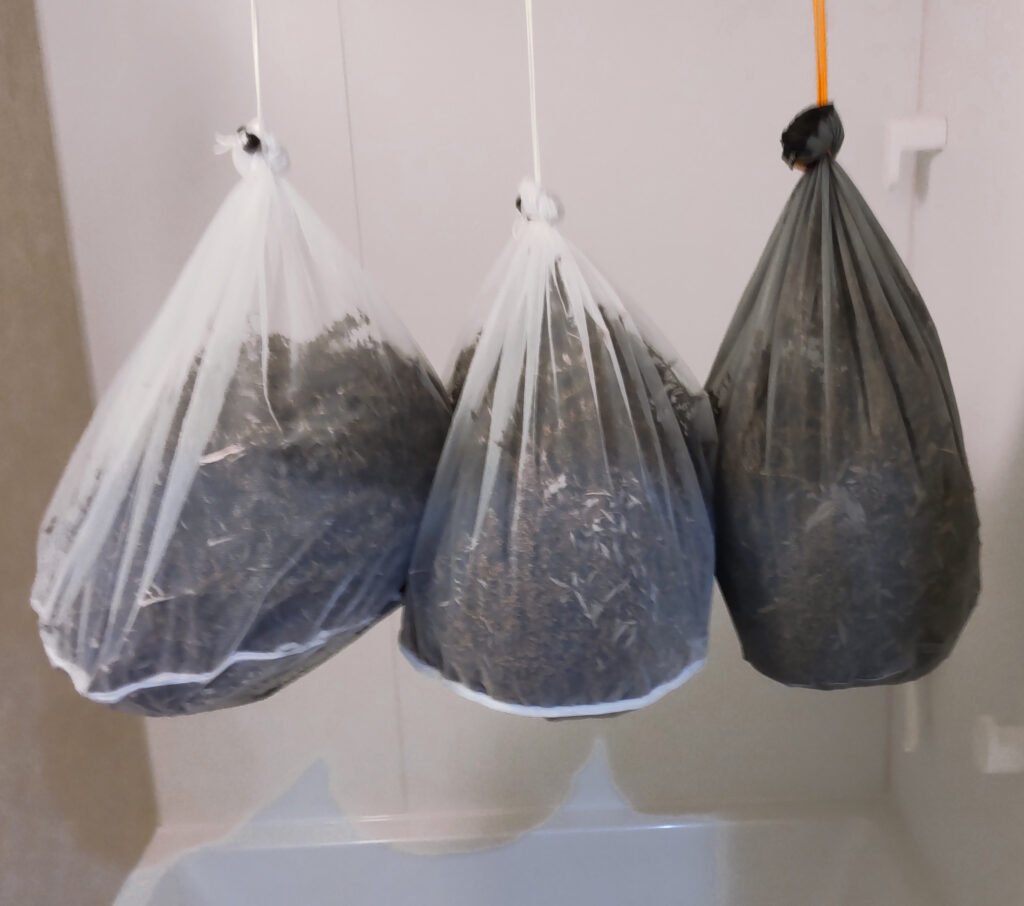
Gather small bunches of herbs and tie them together with twine or rubber bands. Hang the bundles upside down in a warm, well-ventilated area away from direct sunlight. This allows the herbs to air dry gradually, preserving their flavor and aroma.
Using Drying Racks
Alternatively, spread the herbs in a single layer on drying racks or screens. Place the racks in a warm, dry location with good air circulation. Rotate the herbs occasionally to ensure even drying.
Oven Drying: Quick and Convenient
Oven drying is a faster method that’s well-suited for herbs with high moisture content. Here’s how to do it:
Proper Temperature and Timing
Preheat your oven to the lowest setting (usually around 100-150°F or 40-65°C). Arrange the herbs in a single layer on a baking sheet lined with parchment paper. Place the baking sheet in the oven with the door slightly ajar to allow moisture to escape. Check the herbs regularly and remove them once they are dry and crisp, usually within 1-3 hours.
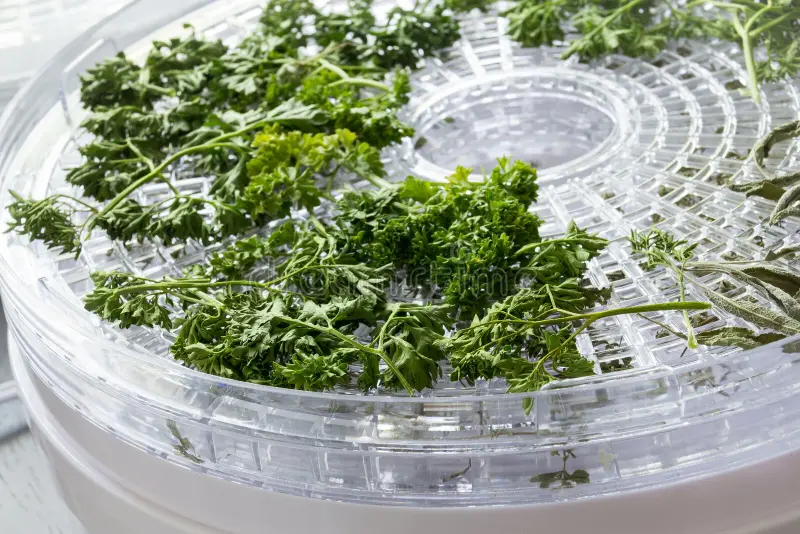
Dehydrating: Precision Drying for Optimal Results
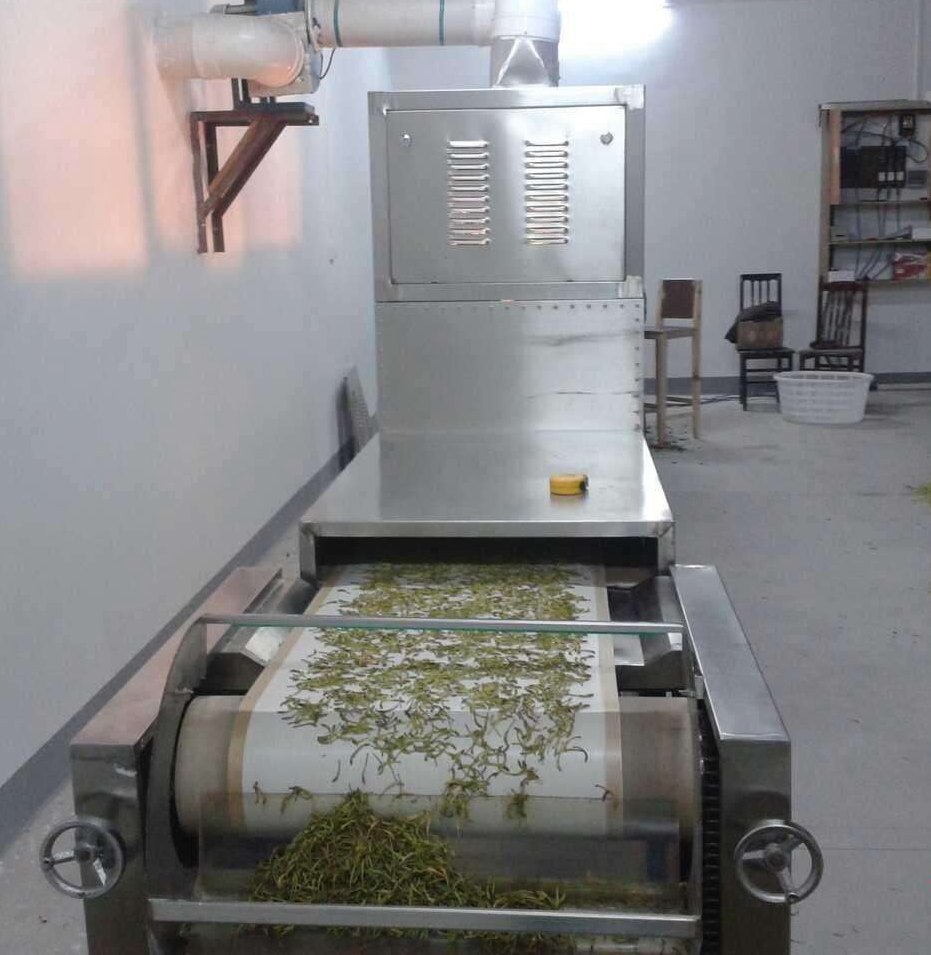
For those who prefer a more hands-off approach, a food dehydrator offers precise control over temperature and airflow. Here’s what you need to know:
Selecting a Quality Dehydrator
Invest in a quality dehydrator with adjustable temperature settings and ample drying space. Look for models with trays that are easy to clean and stackable for efficient use of space.
Dehydration Time and Temperature Guidelines
Follow the manufacturer’s instructions for your dehydrator, adjusting the temperature and drying time according to the type of herb and its moisture content. Generally, herbs should be dried at temperatures between 95-115°F (35-46°C) for 1-4 hours, depending on the herb and desired level of dryness.
Proper Storage Containers and Conditions
After drying your herbs, it’s essential to store them properly to maintain their flavor and potency. Here’s how to choose the right containers and create ideal storage conditions:
Choosing the Right Containers
Selecting the appropriate storage containers is crucial for preserving the freshness and flavor of your dried herbs. Consider the following options:
Airtight Glass Jars
Airtight glass jars are an excellent choice for storing dried herbs. They provide a seal that prevents moisture from entering the jar, keeping the herbs dry and flavorful. Opt for dark-colored jars to protect the herbs from light exposure, which can degrade their quality over time.
Vacuum-Sealed Bags
Vacuum-sealed bags offer an extra layer of protection against moisture and air, helping to prolong the shelf life of your herbs. Choose high-quality bags designed for food storage and ensure they are completely sealed to maintain freshness.
Ideal Storage Conditions
Once you’ve chosen your containers, it’s essential to Storing Dried Herbs in optimal conditions to preserve their flavor and potency:
Cool, Dark, and Dry Environment
Storing Dried Herbs in a cool, dark, and dry environment, such as a pantry or cupboard. Exposure to heat, light, and humidity can degrade the quality of the herbs and shorten their shelf life. Keep the storage area away from sources of heat, such as stoves or direct sunlight, to maintain optimal conditions.
Avoiding Exposure to Heat and Light
Heat and light can accelerate the loss of flavor and aroma in Storing Dried Herbs. To protect your herbs from these elements, store them in opaque containers and avoid placing them near heat sources or in areas exposed to direct sunlight. This will help preserve the herbs’ freshness and potency for longer periods.
Labeling and Organizing Your Herb Storage
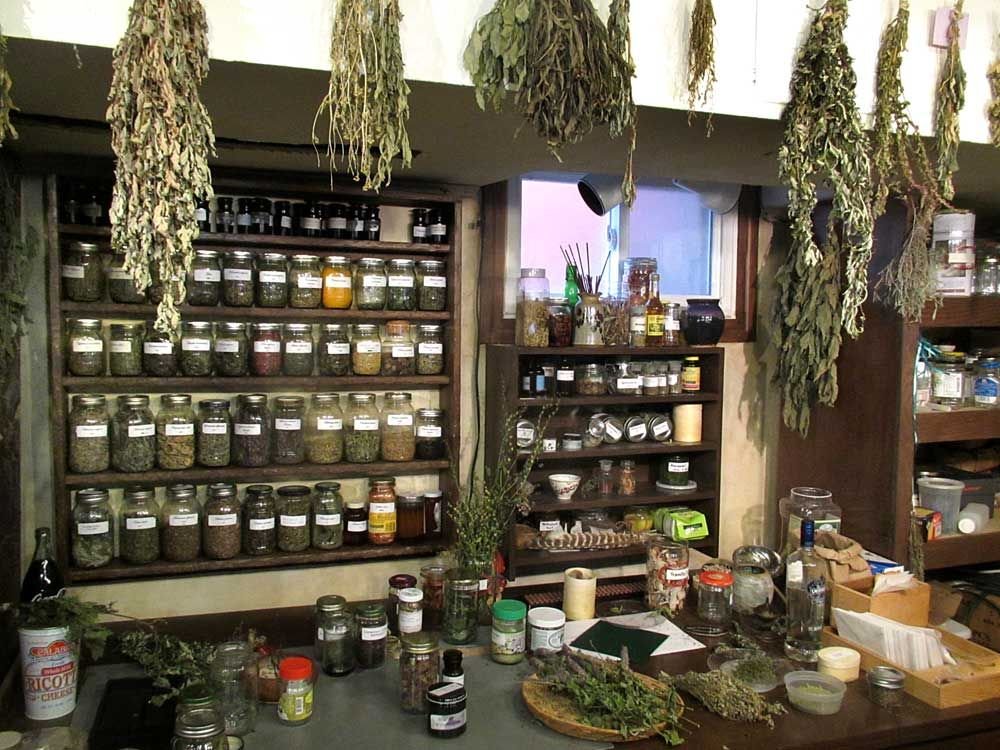
Proper labeling and organization are essential for maintaining order and maximizing the usability of your herb storage. Here’s how to ensure your herbs are labeled correctly and organized for easy access:
Importance of Proper Labeling
Effective labeling is key to keeping track of your dried herbs and ensuring they remain fresh and potent. Consider including the following information on your labels:
Date of Harvest and Drying
Recording the date of harvest and drying allows you to track the freshness of your herbs and rotate older stock as needed. This ensures that you always use the freshest herbs in your culinary creations or herbal remedies.
Herb Name and Variety
Clearly labeling each container with the name and variety of the herb inside helps you quickly identify and locate the herbs you need. This prevents confusion and ensures you use the correct herbs for your recipes or remedies.
Organizational Tips for Easy Access
Organizing your herb storage system makes it easy to find and retrieve the herbs you need when you need them. Consider the following organizational tips:
Alphabetical Order
Arrange your herb containers in alphabetical order by herb name. This simple yet effective method allows you to quickly locate specific herbs without wasting time searching through your storage area.
Categorizing by Culinary Use or Medicinal Properties
Alternatively, categorize your herbs based on their culinary use or medicinal properties. Group herbs together according to their flavor profiles (e.g., herbs for Italian cuisine, herbs for Asian cuisine) or their therapeutic benefits (e.g., calming herbs, digestive herbs). This approach helps you tailor your herb selection to your specific culinary or wellness needs.
Creative Uses for Dried Herbs
Discover the endless possibilities for incorporating dried herbs into your culinary and wellness routines. Here are some creative ideas to inspire you:
Culinary Delights: Enhancing Flavors in Your Kitchen Creations
Elevate your culinary creations with the rich flavors and aromatic qualities of Storing Dried Herbs. Try these culinary delights:
Infusing Oils and Vinegars
Create flavorful infused oils and vinegars by combining Storing Dried Herbs with your favorite cooking oils or vinegars. Simply place a handful of dried herbs in a clean, dry bottle, fill with oil or vinegar, and let steep for a few weeks. Strain out the herbs, and you’re left with a deliciously aromatic infusion that adds depth and complexity to dressings, marinades, and sauces.
Making Herbal Seasoning Blends
Blend dried herbs together to create custom seasoning blends that elevate the flavor of your favorite dishes. Experiment with combinations of herbs like basil, oregano, thyme, and rosemary to create versatile blends that enhance meats, vegetables, pasta, and more. Store your homemade seasoning blends in airtight containers for convenient use whenever you need a flavor boost.
Herbal Remedies: Harnessing the Healing Powers of Nature
Harness the natural healing properties of dried herbs to support your health and well-being. Explore these herbal remedies:
Herbal Teas and Decoctions
Brew soothing herbal teas and decoctions using Storing Dried Herbs known for their therapeutic benefits. Chamomile, peppermint, and lavender are popular choices for promoting relaxation and aiding digestion. Simply steep a teaspoon of dried herbs in hot water for a few minutes, strain, and enjoy a comforting cup of herbal goodness.
Soothing Herbal Bath Blends
Create luxurious herbal bath blends to indulge your senses and promote relaxation. Combine Storing Dried Herbs like lavender, rose petals, and chamomile with Epsom salt or oatmeal for a soothing bath soak that calms the mind and nourishes the skin. Tie the herbs in a muslin bag or cheesecloth pouch to contain them during the bath, and revel in the therapeutic benefits of your herbal spa experience.
With these creative uses for dried herbs, you can infuse your culinary creations and wellness routines with the rich flavors and healing powers of nature. Experiment with different herbs and recipes to discover your own unique blends and remedies that delight the senses and nurture the body and soul.
FAQs (Frequently Asked Questions)
How long do dried herbs last?
Storing Dried Herbs can last for several months to a year or more when stored properly in a cool, dark, and dry environment. However, the flavor and potency may diminish over time, so it’s best to use them within a year for optimal freshness.
Can I use dried herbs past their expiration date?
While Storing Dried Herbs may be safe to use past their expiration date, their flavor and potency may have diminished. It’s best to use fresher herbs for optimal flavor and aroma in your culinary creations or herbal remedies.
What is the best way to Storing Dried Herbs to retain their flavor?
To retain the flavor of Storing Dried Herbs, store them in airtight containers in a cool, dark, and dry environment. Avoid exposure to heat, light, and humidity, as these factors can degrade the quality of the herbs over time.
Are there any herbs that are not suitable for drying?
Most herbs can be dried successfully, but some delicate herbs may lose flavor or become bitter when dried. Examples include cilantro, parsley, and chives. These herbs are best used fresh or preserved in other ways, such as freezing.
Can I dry herbs without a dehydrator?
Yes, herbs can be dried using alternative methods such as air drying, oven drying, or even hanging them in a warm, well-ventilated area. These methods require minimal equipment and can yield excellent results with proper care and attention.
Conclusion
Incorporating dried herbs into your culinary creations and wellness routines is a delightful way to enhance flavor and promote health. By following the expert tips and techniques shared in this guide, you can ensure that your homegrown herbs retain their freshness, flavor, and medicinal properties for months to come. Whether infusing oils and vinegars, brewing herbal teas, or creating soothing bath blends, properly Storing Dried Herbs have the power to elevate your culinary and wellness experiences to new heights. Embrace the bounty of your garden harvest and savor the rich flavors and healing powers of nature with every herb-infused creation.


